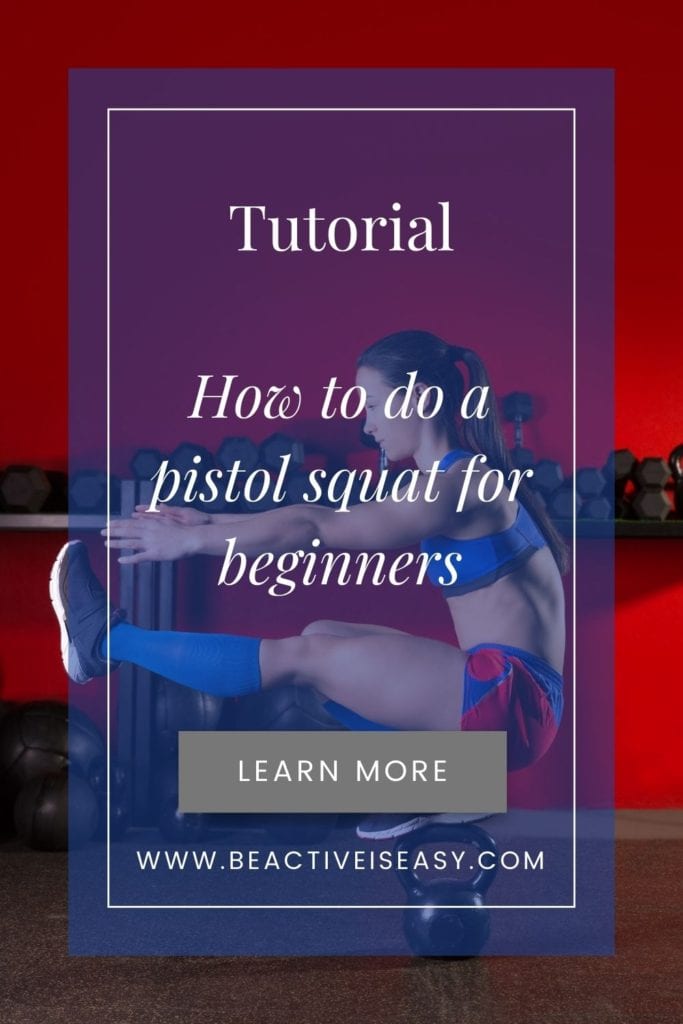
4 Steps to Learn Pistol Squat for Beginners
The pistol squat is a challenging exercise that, when practiced correctly, will provide the benefits of increased mobility, flexibility, and muscle strength. Keep on reading on to learn pistol squat for beginners.
Pistol squats are a great way to increase your strength and flexibility. They can be done at home and will be beneficial for your training. How do you learn to do a pistol squat? The answer is that it takes a lot of practice and patience. But with the proper training and mindset, you will be able to do it in no time.
Tired of skimming through all the ads and distractions throughout this article? You can sign up for the Tippy Toes Blog to read the same article but WITHOUT the annoyance. Sign up today ヽ(✿゚▽゚)ノBe fit forever.
Summary
Why you should learn how to do a pistol squat as a beginner
The pistol squat is a variation of a squat that is a little more challenging to do. The pistol squat has a long list of benefits to work out your hamstrings, quadriceps, and calf muscles. It also works your core muscles, which will be instrumental in completing a perfect pistol squat.
It is very easy to learn how to do it. And we will highlight those in the next section.
Strengthen your leg muscles
A pistol squat requires more strength from your leg muscles than a traditional one. Once you can do this particular squat, you will strengthen your legs and improve your balance.
You canNOT skip leg days if you want to do this, though one day a week is fantastic. Some exercises to build up your strength can be traditional squats, weighted squats with barbells or dumbbells, lunges, side lunges, reverse lunges, frog jumps, or even using a leg press.
Practice makes perfect. You can start your process by doing 10 repetitions and 2 sets for each exercise suggestion here. Do not forget to warm up with some foam rolling and cool down with static stretching. Done consistently, you should see changes after a few weeks.
Start your pistol squat process with assistance
No need to jump the gun at the beginning. You are going to work on your balance at this stage. The whole process is super simple. You can do this at home, with no extra equipment needed. All you need is something sturdy to hold on to, like a wall, a chair, or a table.
No need to jump the gun at the beginning. You are going to work on your balance at this stage. The whole process is super simple. You can do this at home, with no extra equipment needed. All you need is something sturdy to hold on to, like a wall, a chair, or a table.
Are you ready? Start your non-weight-bearing leg a little straight and kick to the front. Hold on to your assistance. Lower your other leg and make little pumps. The pumps do not have to be profound, as the point of this is to build your balance.
The idea of this exercise is to learn the movement and how it feels. The finish position is feet together with a straight back.
Slowly use less assistance
Once you have more control on one foot, it is time to move to the next step, using less assistance. Start standing on one foot again. Use less assistance. If you were holding on to the wall, use less force. If you are leaning on a table or chair, try reducing the number of fingers you need.
Breathe in and brace your belly. This time, curl your non-weight-bearing leg up, making a 90-degree angle. As you lower your weight-bearing leg down, slowly straighten the other leg as much as you can. Breathe out as you go up.
You will find this process is the lengthiest and takes the most time. Keep progressing until you do not need any assistance at all. You might find one leg improves faster than the other.
Related: 3 Steps to Make Being Active Super Easy!
Getting the perfect pistol squat
At this point, you should feel ready to use no more assistance. Yes, you read it right. 0% of assistance. To do this, go ahead and start standing on an even floor. You got what it takes, and give it a go!
Put both of your hands up front to keep yourself balanced. Remember to breathe and brace your belly and breathe out. Curl your non-weight-bearing leg up and slowly squat down with your other leg. Go as deep as you would with a traditional squat while slowly straightening your curled leg.
You are halfway through! To complete the second half, drive your heel straight to the floor. Breathe out as you concentrate on your calf muscles to go back up. Keep your hands up front still.
That is it, tabbies! You got the perfect pistol squat.
Hope you enjoy this tutorial to learn pistol squat for beginners!
What do you think about this tutorial? I hope you enjoy this tutorial to learn pistol squat for beginners as much as I wrote this article.
Keep training hard and consistent, and you will enjoy the many benefits of the pistol squat for life.
If you are looking for a fitness professional to guide you through this treacherous path, then I am here for you. I am an ACSM Certified Exercise Physiologist who spent 4 years going through an accredited university to learn all about exercise and how it affects your body.
With our time together, I promise you will find joy in exercise and live your life the way you have always wanted.